How to create new question #
In our app, you can easily create new question. This guide will walk you through the process of creating question.
Step 1: From the app admin page, click Questions > Create Question.
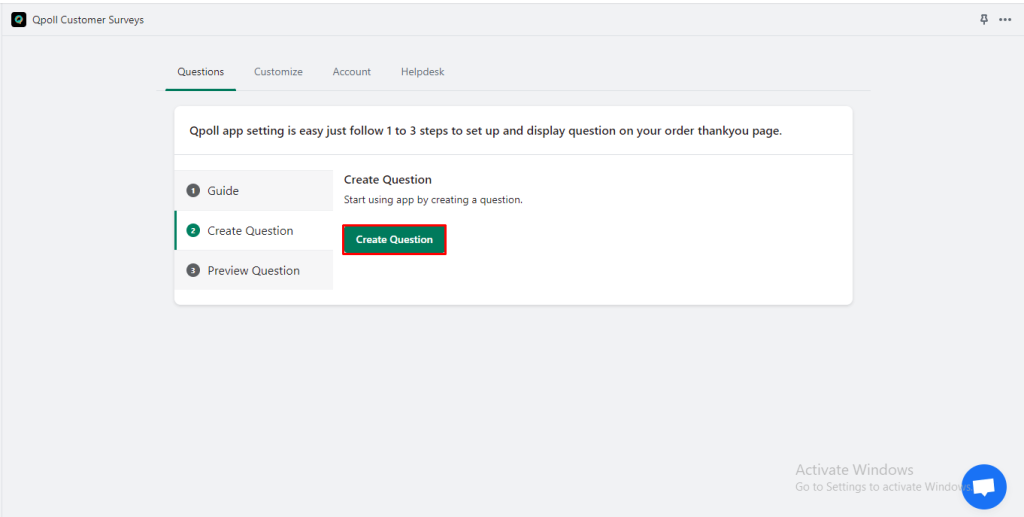
Step 2: Choose the type of question you want by clicking on it. This will redirect you to the question creation page.
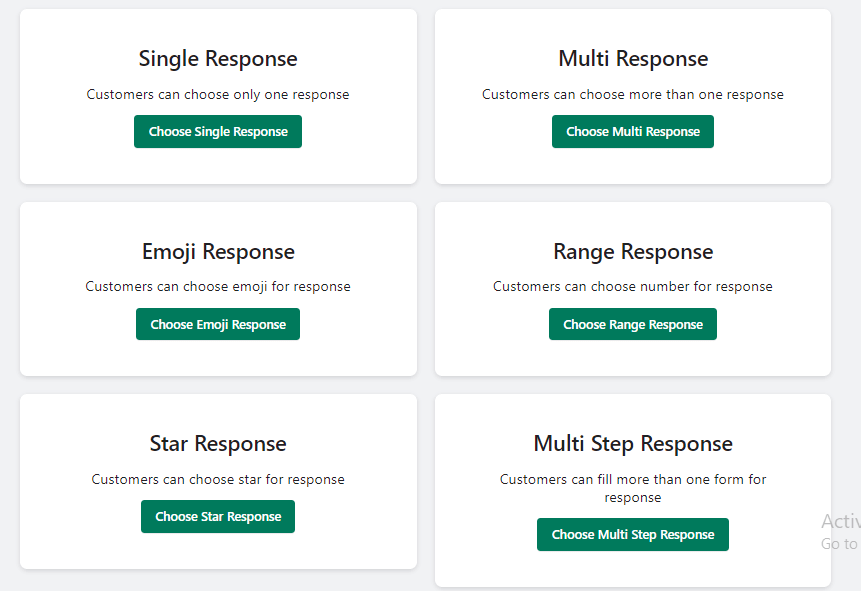
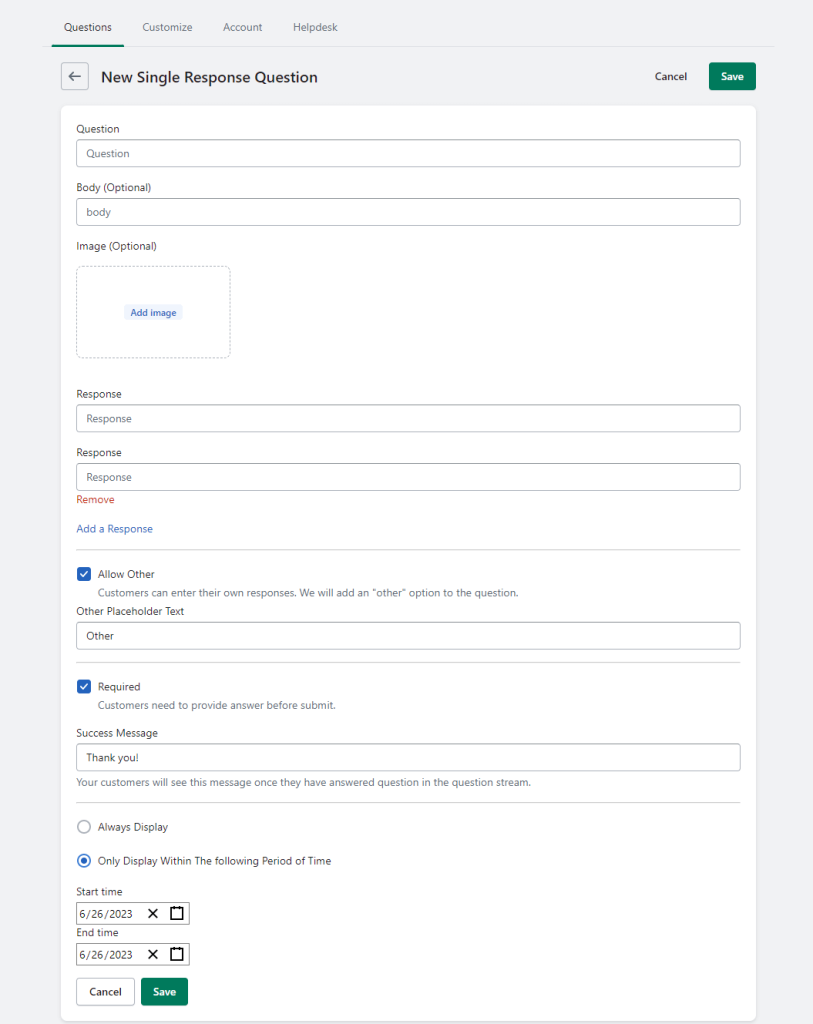
Let’s explore the features and steps involved.
Option 1: Question:
Enter the main question or statement for your survey. This is the prompt that the respondents will answer.

Option 2: Body:
If needed, provide additional information or context related to the question in this field.

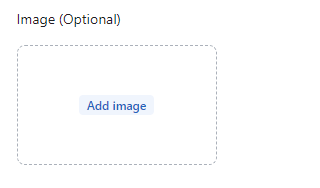
Option 3: Image:
If you wish to include an image with the question, you can upload it here.
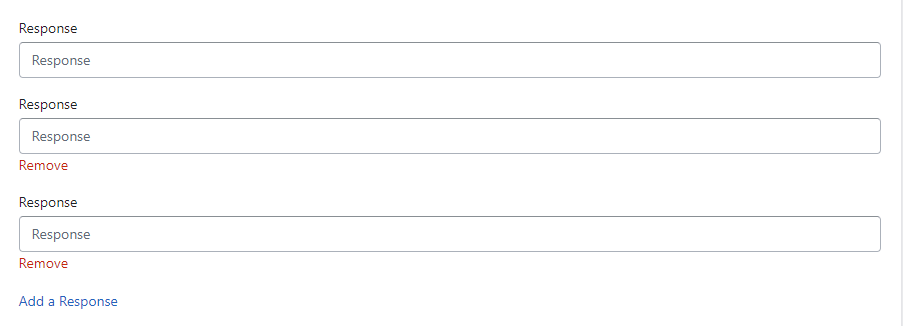
Option 4: Response options:
The response options are the possible answers to the question. You can specify as many response options as you want
Option 5: Allow Other Text Box:
Enable or disable this option to let respondents enter an additional response in a text box, Provide a placeholder text for the “Other” option if the “Allow Other Options” feature is enabled.

Option 6: Question Required:
Specify whether the question is mandatory for respondents to answer or if they can skip it.

Option 7: Success Message:
Enter the message that will be displayed to the respondents once they complete the question.

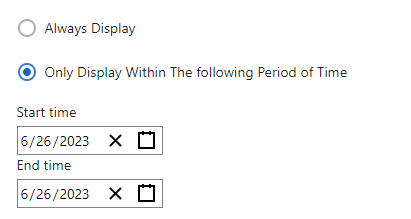
Option 8: Display Options:
Choose how and when the question should be displayed to the users:
Always Display: The question will always be visible to the thankyou page.
Display within a Period of Time: Select a start date and/or end date to define a specific time frame during which the question will be shown.
After filling in all the necessary details, click on the “Save” button to save your question and add it to your survey.
Note: Depending on the question type you selected, there may be additional options or settings available to customize the question further. Make sure to explore those options and adjust them as needed.